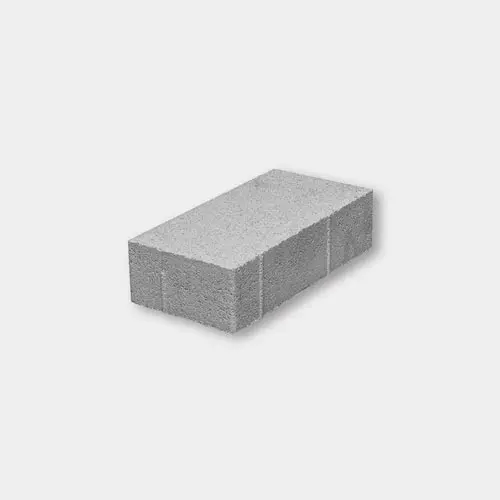
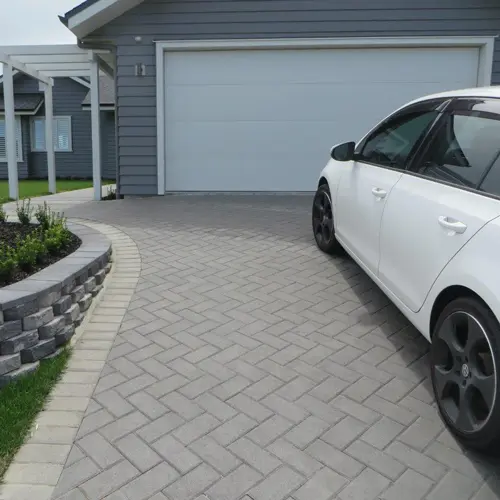
The product used in this project is the Lifestyle Range Unipave pavers 230x115x60 MM. Unipave offers a simple shape which can be installed in a variety of patterns to produce utilitarian or decorative pavement designs. It also looks great as a mowing edge, garden edges, inlays, borders, soldier course etc.
PRODUCT USED
THIS method will HELP overcome problems such as ants, weeds, sinking, and separating.

STEP 1.
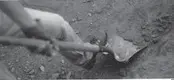
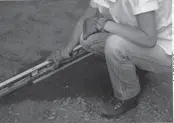
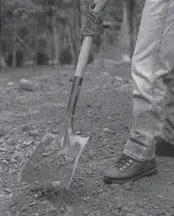
Digout topsoil to 120mm. Install PREMIER-BASE-COURSE and rake out.

STEP 2.
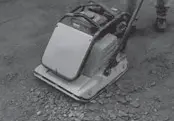
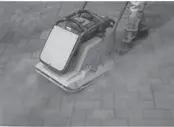
Compact base course to 60mm thick using feet or preferably plate compactor.

STEP 3.
Check levels with a tape measure. Your base course should be approx 60mm below the finished level of your paving.

STEP 4.
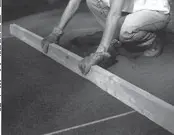
Check levels with a spirit level.

STEP 5.
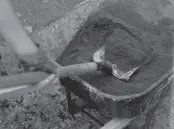
Mix bagged MORTAR-MIX with water to toothpaste consistency (in a wheelbarrow or mixer) or mix PREMIER-WASHED-SAND with cement, water and plasticiser – sand and cement can be ordered from PREMIER.

STEP 6.
Trowel 5 spots of mortar mix onto the base course. Then lay a strip of mortar where the next joint will be.

STEP 7.
the spots (the mortar should squash down and spread out to 20mm thick. Use a sponge to wet the back of each paver before you lay.

STEP 8.
Gently tap the paver down to desired level with a rubber mallet. Joints should be approx 10mm wide at top of the paver.
DO NOT BUTT HARD TOGETHER.

STEP 9.
Check levels across pavers continuously and tap down if needed.

STEP 10.
You should end up with approx 40mm paver, 20mm mortar, 60mm base. When all pavers are laid –
DO NOT WALK ON FOR 24 HOURS.
STEP 11.
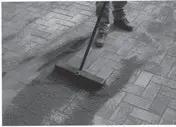
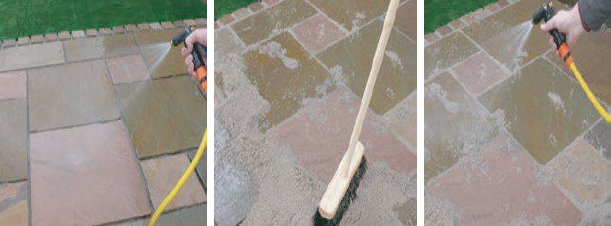
Wet the surface of the pavers and pour on the PREMIER P30. Wet the grout thoroughly and sweep into the joints. Only grout 4-5m2 at a time. Ensure the grout is a wet slurry!

STEP 12.
Sweep off the remainder of the grout 45 degree to the grout lines.

STEP 13.
Only seal if required. Hire a professional! PAVERS MUST BE 100% DRY BEFORE SEALING.
-
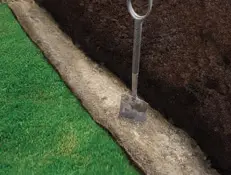
1. Mark out and dig trench -
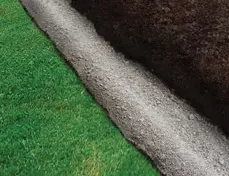
2. Fill trench with PREMIER-BASE-COURSE -
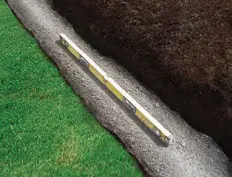
3. Level and compact GAP 7 -
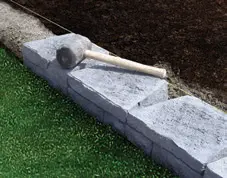
4. Lay first layer -
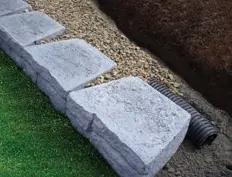
5. Lay drain coil and drainage aggregate -
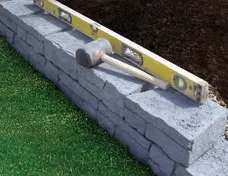
6. Lay second layer, continue laying and check levels -
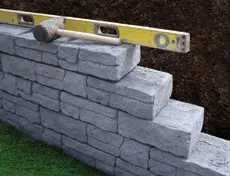
7. Check levels -
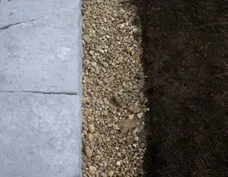
8. Backfill with drainage aggregate and soil as you go -
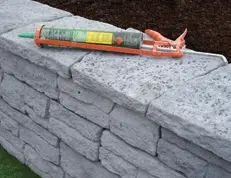
9. Place capping stones on and glue down if you wish -
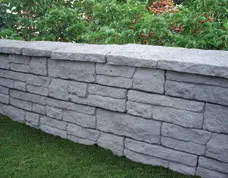
10. Enjoy the beautiful finished result!
STEP 1.
For light pedestrian use on the well-consolidated ground, excavate the depth of the pavers plus 50mm for the PREMIER-BASE-COURSE layer. For heavy garden equipment, vehicle traffic, hard standing or poor ground – a sub-base of 150 – 200mm depth is required. The sub-base should be well compacted and consist GAP-20 or similar (not larger than 25mm aggregate). Provide a fall of 10 – 15mm over every 1 metre to allow for water runoff. The falls should be away from the house or walls unless linear surface drainage channels are used. Building regulations require paving to be a minimum height below the floor level. Check your local building regulations for this information.
STEP 2.
Any area of pavers must be surrounded by a firm edge restraint to stop the blocks and sand from moving sideways. New and existing walls, kerbs or the pavers themselves laid on a suitable concrete bed can all be used to serve this purpose. Any concrete used to fix edge restraints must be allowed time to cure and gain strength before any vibration is commenced.
STEP 3.
After sub-base excavation and fill (if required) screed out PREMIER-BASECOURSE on top of the sub-base within the restrained area to an approximate depth of 65mm. Then compact with a plate compactor (obtained from your local hire shop). Then spread PREMIER-WASHED-SAND over at approx 5-10mm thickness and screed off to give a firmly compacted thickness of 50mm. One tonne of PREMIER-BASECOURSE covers approximately 8m2.
STEP 4.
Individual pavers are then simply placed onto the sand bed and according to the pattern, laying progress from a corner or long edge and should proceed along one laying face until work is finalised. Pavers from several packs should be well mixed to enhance colour blending.
STEP 5.
Cutting of pavers may be required to fill gaps between edge restraints. This may be done using a hammer and bolster chisel. If a lot of cutting is necessary, a mechanical block splitter or power cutter can be hired.
STEP 6.
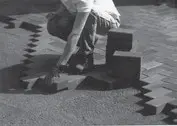
With a stiff broom, thoroughly brush a quality joint sand over the pavers to fill the joints before compacting. For smaller areas use a rubber mallet to compact. For larger areas use a plate compactor. Carpet may be required when compacting these pavers to help prevent them from cracking. Keep sweeping PREMIER-SWEEP-IN-GROUT in until all joints are topped up. Sweep in thoroughly to avoid staining during spraying. Then spray a fine mist of water over the area to help set the grout. ONLY USE SMALL AMOUNT OF WATER.
STEP 7.
To maintain a just laid look, you can seal your pavers using either PREMIER-SEALER product of your choice. Talk to your local PREMIER distributor about PREMIER-SEALER for your pavers. Unsealed paving will weather naturally making colours appear less intense.
STEP 8.
Step back – relax and enjoy the finished result.